Contact Us Today for Expert Car Wash & Detailing

seozie-img
Last updated: June 2025

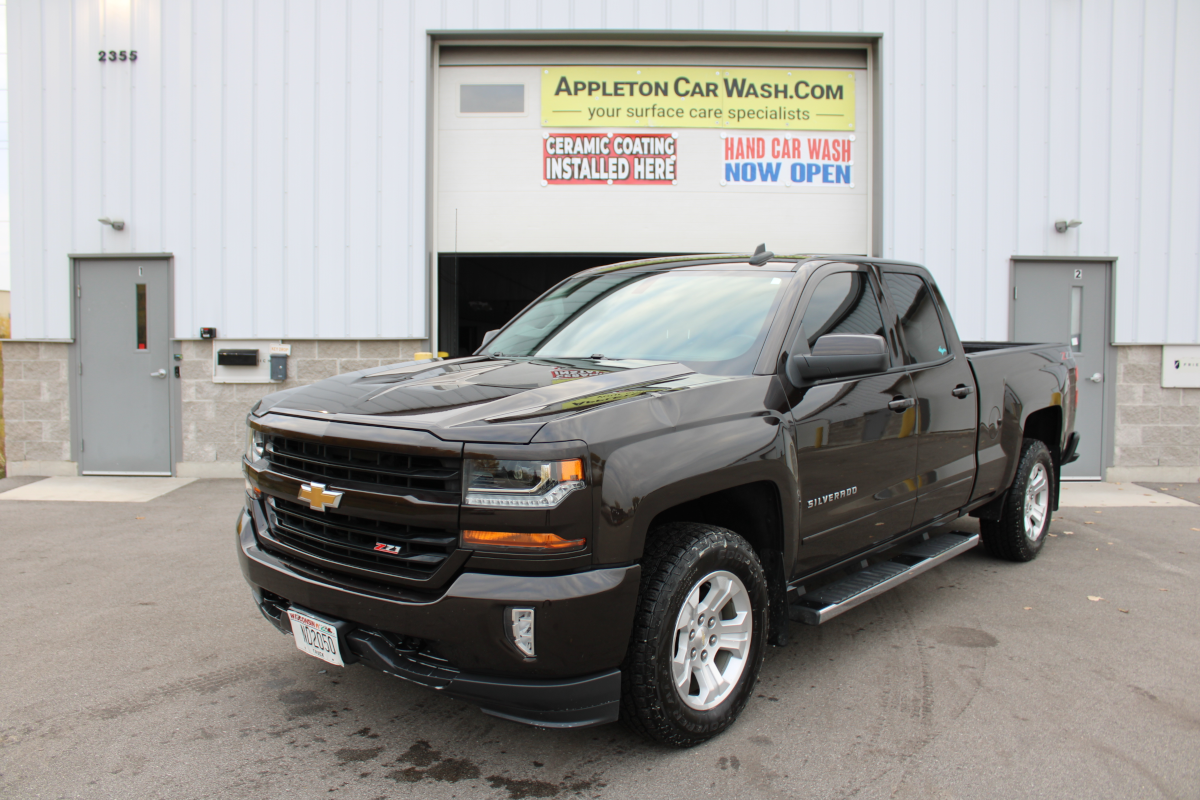
Ceramic Coating Installation Prep & Application Guide Process

Let’s Get This Ceramic Coating Installation Process Straight (NO WAX)

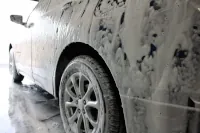
The better the prep, the better the results. Whether you’re working with a full-strength bottle or a spray application, ceramic coating installation success depends on one thing: surface prep. A properly prepped vehicle gets the most out of the coating—sprays can last up to a year, full coatings can hold strong for years—if the surface is prepped right.

At Appleton Car Wash, we use professional-grade products from trusted brands:

👉 Meguiar’s Ceramic Coating
👉 Adam’s Polishes Ceramic Coatings
👉 Ethos Ceramic Coatings

These are the same products we trust to deliver long-lasting protection and an exceptional finish for your vehicle.

Preparation: Make the Surface Ready for ceramic coating installation

Car wash near me search is over! We offer expert car washing for cars, trucks, SUVs, and more – conveniently located near you in Appleton.

1. Wash First (No Protection Additives!)

Use a shampoo without gloss enhancers.

  • Use a Foam Cannon or Foam Gun.
  • Use the Two-Bucket Method with Grit Guards.
  • If going waterless, use multiple clean microfiber towels.

2. Optional Decontamination with Iron Remover

Removes embedded contaminants.

A freshly detailed black Chevrolet Silverado parked in front of Appleton Car Wash, showcasing a deep shine from our expert detail shop services.
Vehicle after full-service car wash and wax application at Appleton Car Wash

3. Dry It Properly

Use an ultra-plush drying towel or an air cannon. No water left behind.

4. Mask Off Plastic & Rubber

Use detailing tape to protect trim and seals during compounding.

Professional ceramic coating application
High gloss after ceramic coating

5. Clay Bar the Paint

Use a clay mitt or bar with detail spray to remove bonded junk. Follow with surface prep to clean off residue.

6. Polish It Up (This Is Crucial)

  • Start with compound + microfiber cutting pad.
  • Follow with polish + foam pad to refine the finish.
  • Always test a small area first.

Front view of a Cobra Shelby GT500 with polished hood and bumper, showing flawless paint prep before ceramic coating installation.
Hydrophobic, UV-resistant, and glossy—this is the power of pro-level ready for ceramic application.

7. Final Wipe Down

Use surface prep and clean microfiber to clear polishing dust. Ready to coat.

7. Application: Apply Like a Pro

Use surface prep and clean microfiber to clear polishing dust. Ready to coat.

Step 1: Before You Begin

  • Work indoors for consistent temps and minimal dust.
  • Use rubber gloves.
  • Set up good lighting.

Front view of a Cobra Shelby GT500 with polished hood and bumper, showing flawless paint prep before ceramic coating installation.
Cobra Shelby GT500 after clay bar and paint correction, reflecting bright shop lights before ceramic coating is applied

Step 2: Prep the Surface

Wipe panel with surface prep and borderless grey towel.

Step 3: Shake ThE Ceramic Coating Installation Bottle Well

Mix ceramic coating well.

High gloss after ceramic coating

Step 4: Application Methods

  • Full Coating: Drop a few beads on suede applicator block.
  • Spray Coating: Spray 2–3 mists onto microfiber applicator block (not paint).

Step 5: Apply in Sections

  • Outline panel.
  • Apply in overlapping straight lines.
  • Don’t lift applicator mid-panel.

High gloss after ceramic coating

Step 6: Let It Flash

Look for rainbow/oily sheen.

Step 7: Time to Wipe Off

  • Start wiping 30 sec to 3 min after application
  • First wipe: suede microfiber, remove ~50% residue
  • Second wipe: borderless grey towel, remove rest

Step 8: Repeat for All Surfaces

Paint, glass, wheels, chrome.

After Ceramic Coating Application: Double Check Everything

  • Use UV light for coverage
  • Inspect outdoors for high-spots

Cure Times (Keep It Dry!)

  • Full Coating: cure indoors 24 hours
  • Spray Coating: cure 4–6 hours minimum

Fixing Mistakes: High-Spots, Streaks & Sweat Beads

  • Time Since Application Fix
    1–2 hours Lightly damp microfiber or reapply coating, wipe immediately
    4 hours Drop of brilliant glaze or white polish + microfiber
    12 hours Polish with blue hex grip or machine polish (may weaken coating)
    24–48+ hours Machine polish compound + re-coat

Do’s and Don’ts

✅ Do

  • Cure indoors

  • Follow flash time and wipe thoroughly

  • Inspect under natural light

  • Perform regular maintenance washes

❌ Don’t

  • Apply in extreme temps (60–80°F ideal)

  • Leave high-spots unchecked

  • Expose vehicle to water too soon

  • Use harsh soaps/detail sprays during cure